
How to Add Subtitles to a Video: Free Caption Tools (2026 Guide)
A cooking clip with every step only in the audio, a product demo narrated for a listener who is not there, a birthday message filmed in a noisy room. None of them works with the sound off, and a large share of social feeds is watched exactly that way. Captions decide whether these videos communicate or scroll past.
If you need to add subtitles to a video, you may be expecting an evening of typing. The tools in 2026 listen instead. Free editors transcribe the speech automatically, and readable captions usually take minutes, not hours.
This guide covers the fastest automatic route, the official route when a video is heading to YouTube, and the manual fallback when automatic captions are not good enough. Every method below is free at the level it is described.
How to Add Subtitles to a Video in About Five Minutes
If you want to add subtitles to a video without an evening of typing, let the editor do the listening. Open the clip in CapCut on a phone or desktop, open the Text tab, choose Auto captions, pick the language being spoken, and wait a few seconds. Then correct the handful of words it misheard, apply a caption style, and export.
That is the whole workflow for most short videos, with one condition: automatic captions need clear speech to transcribe. Music-only clips, strong accents, and overlapping voices produce unreliable text, and those videos need the manual route later in this guide.
What You Need Before You Start
Start with the video file in a format your editor opens. MP4 and MOV cover almost every phone and camera, and if a clip arrives as WebM or AVI, converting it first removes a whole category of export problems; our MP4 conversion guide covers those steps.
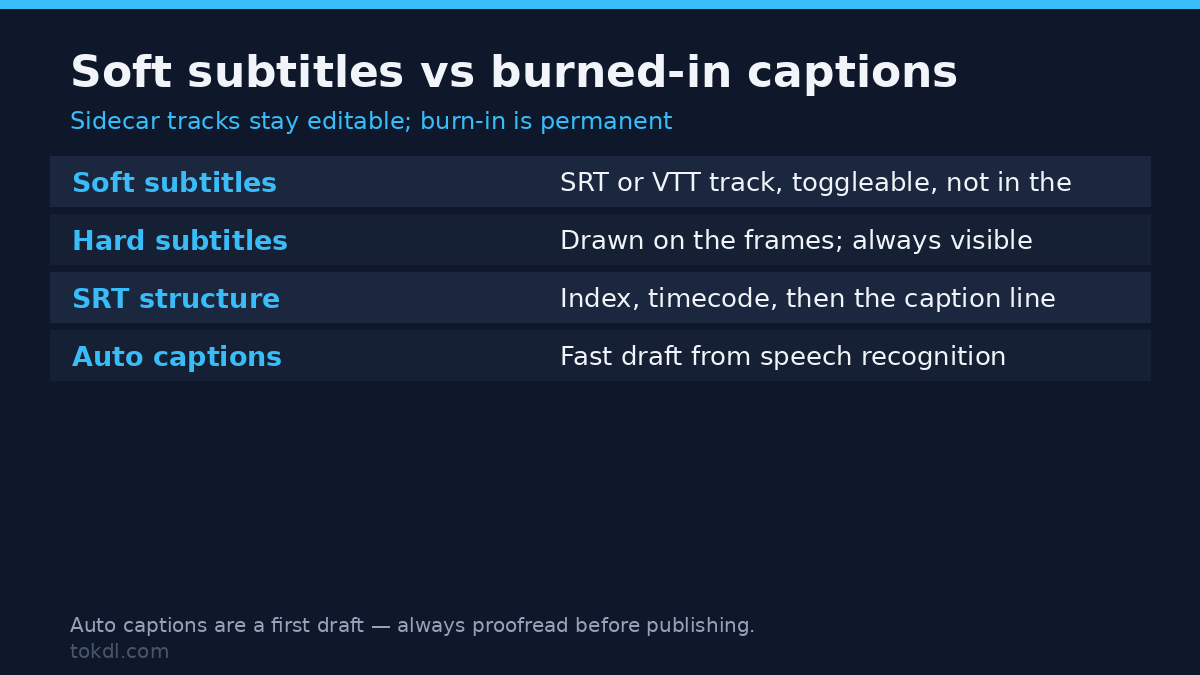
Then decide between burned-in captions and a sidecar file. Burned-in text is drawn into the pixels, so it survives essentially every player and platform, and it cannot be switched off or edited without exporting again. A sidecar such as an SRT file travels next to the video and only plays in apps that load subtitles, which most social platforms do not.
Finally, know the caption language and the destination. Where the video will be published decides whether you burn, embed, or use a platform’s own caption track.
Method 1: Automatic Captions with a Free Editor
CapCut offers the shortest path on Windows, macOS, Android, and iPhone. Import the clip, open the Text tab, tap Auto captions, choose the audio language, and let the transcription run. The whole operation happens inside one app, with no browser tab and no file juggling.
Review the result line by line. Speech engines mishear names, numbers, and jargon, so fix those words before you export. Then pick a caption style or keep the clean default, and make sure the text sits inside the safe margins at the bottom of the frame.
Companies shuffle free features over time, so if auto captions ever sit behind a paid tier in your region, the fallback is simple: transcribe with the free method in the next section or type the lines yourself. The format knowledge in this guide stays useful either way.
Cloud caption tools send your audio to their servers. When the footage is private or work-related, prefer a tool that works locally, which brings us to the most capable free option.
Method 2: The Official Route for Videos Heading to YouTube
If the destination is YouTube, stop before you burn anything. Upload the video, open YouTube Studio, and let YouTube generate the captions: automatic captions are an official feature, free for every uploader.
Open the Subtitles page for the video, select the language, and edit the automatic track, which Studio lets you duplicate and correct. You can also upload a finished SRT file there. Viewers then get a caption track they can switch on and off, and the original pixels stay untouched. The full workflow is documented on YouTube’s captions help page.
TikTok and Instagram Reels offer their own automatic captions when you publish short video. Styling control is limited compared with an editor, but the feature costs nothing and needs no extra software.
What Caption Tools Actually Do, and Their Limits
Automatic captioning is speech recognition applied to your audio. It does well on clean, single-speaker recordings in common languages and poorly on music, strong accents, overlapping talk, and specialized vocabulary. Treat the first draft as a draft.
Formats matter more than beginners expect. SRT is a plain text file holding start times, end times, and one or two lines of text, and nearly every tool imports and exports it. VTT is the web cousin used by HTML5 players and by several hosting platforms.
To make text part of the picture itself, burn the captions in during an encode. HandBrake adds an SRT track with a burn-in option, and ffmpeg does the same in one line:
ffmpeg -i input.mp4 -vf subtitles=captions.srt -c:a copy output.mp4The command needs an ffmpeg build with libass, which the standard packages include. Burning forces a re-encode, so it costs time, a little quality, and file size; export once from the original and check our video compression guide when the result feels heavy.
Manual editors still have a place. Aegisub and Subtitle Edit let you type every line and nudge every timestamp, which matters for songs, dense dialogue, and transcripts that must be exact. DaVinci Resolve sits between the two worlds: it is a full editor whose free version transcribes speech and places subtitles on a timeline, and it is distributed from the official DaVinci Resolve page.
Rights and Responsible Use: Captions Change Pixels, Not Ownership
Captioning is editing, and editing never changes who owns the underlying video. Captions you add to your own recordings are yours to style and share. Re-captioning someone else’s video, or captioning a copy you downloaded, grants no right to redistribute it, and uploading a captioned version of footage you do not own is still uploading footage you do not own.
Personal reference differs from publication. A captioned copy for study, translation practice, or accessibility testing is one thing; publishing that version where others can watch or download it is another. Every upload to YouTube also falls under YouTube’s Terms of Service, which bind anything you post there.
Fan-made subtitle files for television shows and films deserve the same caution. The subtitle text is your work, but the show it captions is not, and distributing the pair means distributing a copy of the show.
Troubleshooting: When Captions Misbehave
Captions appear in the editor but not after export. The export either skipped the caption track or produced a sidecar your player ignores. Burn the captions into the video for players that do not load subtitles, or name the SRT file exactly like the video, captions.srt next to captions.mp4, for players such as VLC that look for it.
The automatic text is full of errors. Music, room noise, accents, and fast overlapping speech all defeat speech recognition. Re-run with the exact language selected, correct what remains in the editor, and switch to manual typing when a clip stays wrong after two passes.
Captions appear in the wrong language. The engine guessed the language instead of using your choice. Regenerate with the language set explicitly, and for multilingual clips, caption each section in its own language rather than expecting one pass to handle all of them.
The timing drifts as the video plays. The captions were generated against an earlier cut, or you trimmed the video after captioning. Trim first and caption last; if you already cut the clip, our guide to trimming video explains how to export the finished version cleanly, then regenerate the captions on it.
Text is cut off or unreadable on a phone. The caption style is too large, too low, or missing a background box. Keep captions inside the bottom safe area, limit each caption to two lines, and choose a style with a solid or semi-transparent background.
The exported file is much larger than the source. Burning captions re-encodes the whole video, and default encoder settings favor size over efficiency. Re-encode with a quality-based setting such as CRF 20 to 23, or keep captions as a sidecar to avoid the re-encode entirely.
Frequently Asked Questions
What is the easiest way to add subtitles to a video?
Let a free editor transcribe the audio for you. CapCut’s auto captions, or DaVinci Resolve’s transcript feature, turn speech into timed text in minutes, and you only correct the errors.
Are automatic captions accurate enough to publish?
Usually, after you check them. Clean speech in a supported language comes out close to perfect, while music, accents, and jargon need manual fixes. Never publish a transcript you have not read.
What is the difference between subtitles and closed captions?
Subtitles show the dialogue, while closed captions also describe sounds. Captions written for deaf and hard-of-hearing viewers include music cues, laughter, and off-screen speakers; subtitles for hearing viewers usually skip those.
Do I need an SRT file to add captions?
Only for a switchable caption track. Apps and platforms that support captions accept SRT files directly, YouTube among them, while burned-in text needs no file at all because it is part of the video.
Can I caption a video that never goes online?
Yes, and it stays private when you choose the right tool. DaVinci Resolve builds its transcript on your machine, HandBrake and ffmpeg burn locally, and nothing uploads unless you use a cloud editor.
Will captions survive when I upload to social media?
Only burned-in text is guaranteed to appear. Most platforms ignore sidecar files, though YouTube accepts SRT uploads and TikTok and Instagram can generate their own captions from the audio after you publish.
Do free caption tools add a watermark?
Some do, on exports that use paid features. Check the export screen before you render; DaVinci Resolve, HandBrake, and ffmpeg add no watermark at any tier.
Which Caption Method Should You Use?
For a short social clip with clean speech, CapCut auto captions and a quick style pass is the fastest route to a finished post. For video heading to YouTube, use the platform’s own caption editor and skip local tools. For anything that must play offline, on a television, or inside an app that ignores subtitle files, burn the captions with HandBrake or ffmpeg.
When accuracy is the whole point, the manual editors win. No speech engine yet transcribes a three-language interview flawlessly, and songs still need human ears.
For everything else, the fastest way to add subtitles to a video is also the most honest one: let a free tool do the listening, correct the words it misheard, and read the finished transcript once before you export. Captions only help when they are right.
[…] select them if this matters to you. If you would rather have the text baked into the picture, the subtitles guide covers that job […]
[…] The first command drops subtitle streams while copying everything else. The second draws them permanently onto the picture, which requires an FFmpeg build with libass support and a full re-encode of the video because the frames themselves are changing. Soft subtitles stay editable and burned ones don’t, so choose deliberately. The wider trade-off between sidecar tracks and permanent captions is covered in the guide to adding subtitles. […]
[…] captions. One helps a viewer jump around the timeline; the other makes the audio readable, and the free caption tools guide covers that separate […]
[…] words on screen are simply what someone is saying, you likely do not want burned-in text at all. A separate subtitle track does that job better, and captions stay […]